 |
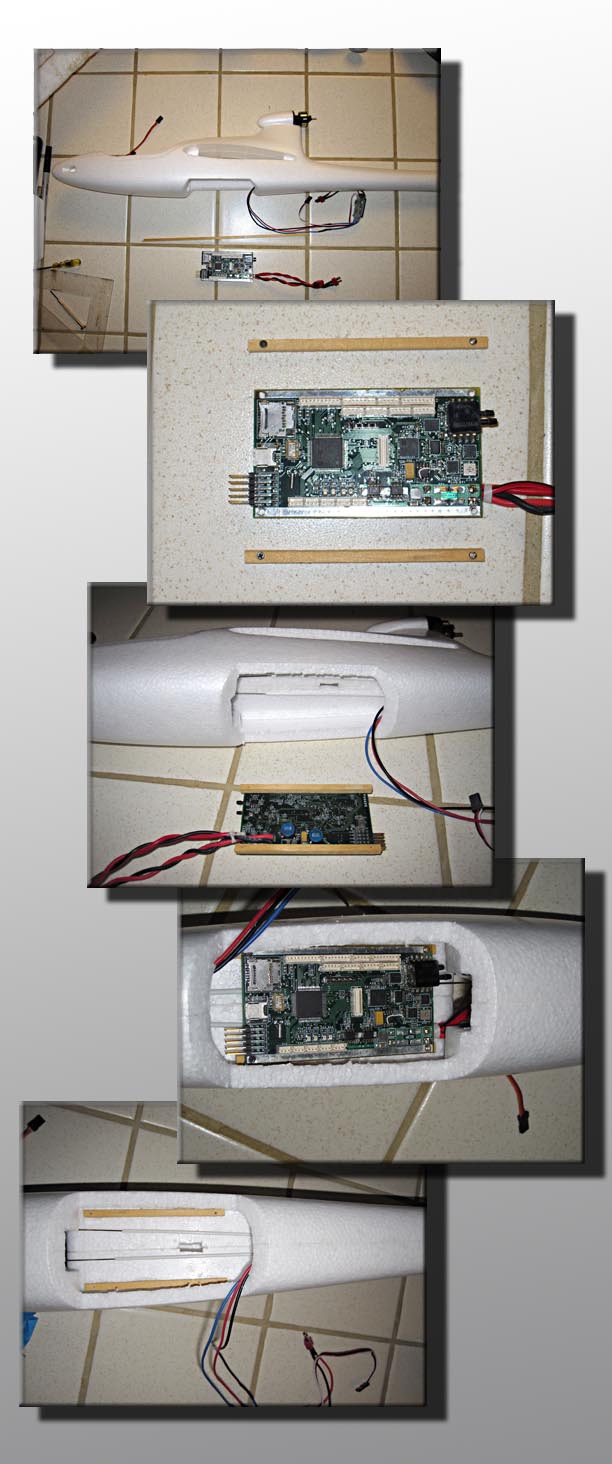
Installing rails for the autopilot:
Although not absolutely necessary, I opted to install some rails to hold the autopilot. It's pretty important that the autopilot can't shift around during flight and having mounting rails will make sure everything stays firmly in place.
I first cut a piece of pine into a 1/4 inch square strip about 8 inches long. Then I cut the strip into two sections slightly longer than the autopilot board (about 3 1/2 inches). Now using the autopilot board as a template, mark the location of the four mounting holes, two on each rail. Drill these locations with a size 51 drill to accept a size 2 screw. The pine is soft enough that the metal screws will self tap the first time you install them. If your using nylon screws you might want to pre-tap the holes first.
Now it's time to mount the rails to the autopilot. Simply screw the rails to autopilot making sure not to pinch any wires. Once the rails are attached to the autopilot, we're ready to glue the rails into the plane. Apply a small amount of 5 minute epoxy to the bottom side of each rail making sure not to get any on the PC board. Now press the rails onto the foam surface at the bottom of our hatch opening and position to allow easy access to the connectors on both ends of the board. Allow the glue to dry for a few minutes making sure the board can't shift around in the process.
Once the glue is dry, unscrew the autopilot and remove it. At this point I added more epoxy around the perimeter of the rails to strengthen things up. I also put some glue on the sleeves holding the control rods to make sure they couldn't move around. This seemed to help eliminate any dead band and offer more positive control.
|
|
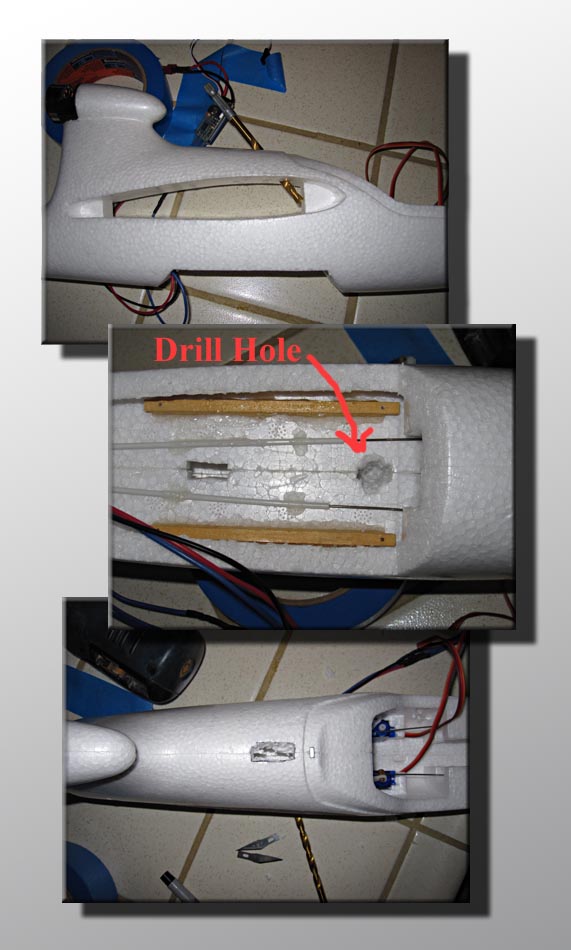
Cutting a channel for the GPS wires:
Next up is installing cutting out an area in the foam for the GPS receiver. I'm using a GS407 U-Blox5 receiver with a helical antenna. I previously installed a receiver with a patch antenna using much the same method.
To begin, drill a hole large enough for the GPS connector to pass thru down from the top of the plane just aft of where the canopy rests. This hole should be angled forward and penetrate partially into the bulkhead that supports the leading edge of the wings when they are installed. Next drill a hole up from the bottom so that it intersects the first hole in the bulkhead.
Now use the GPS receiver as a template and trace it's outline onto the top of the plane making sure the hole you drill lines up with where the cable will exit the receiver. Once the outline is traced, cut out the foam with an xacto knife deep enough to allow the GPS receiver to be installed without the antenna being below the surface of the foam and without the GPS receiver extending into the area where the wing will be. For the U-Blox5 this meant cutting all the way thru and having the bottom of the receiver sitting right of top of the installed wing. For the patch antenna receiver it was only necessary to cut down about 1/8 inch.
|
 |
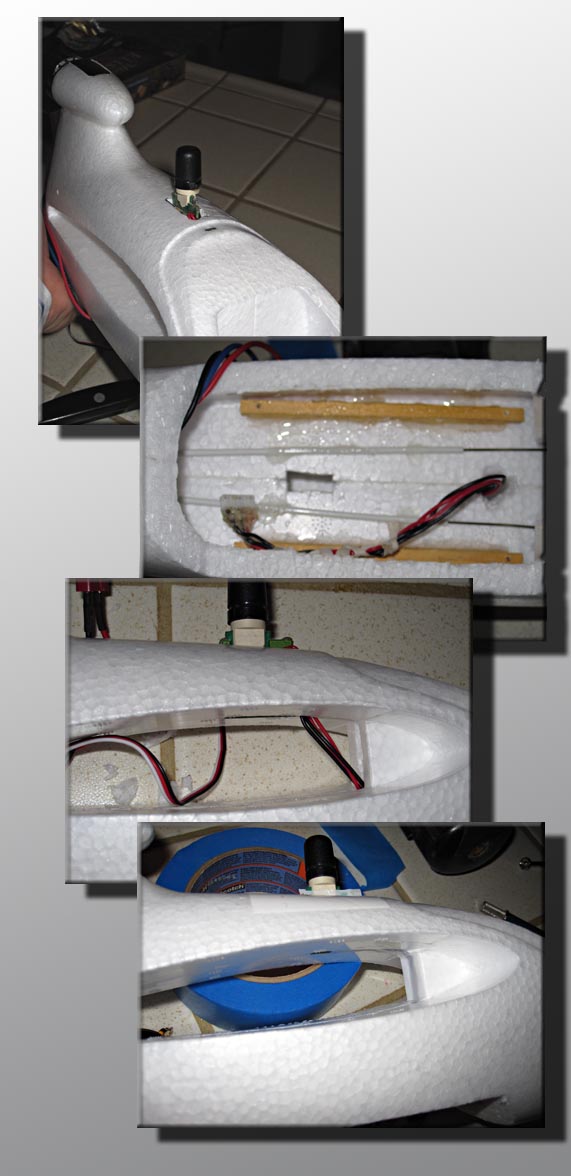 |
Installing the GPS Receiver:
Now install the GPS receiver by first fishing the connector and cable down through the hole you just drilled and out thru the bottom. Press the GPS receiver into it's cutout and keep pulling the cable through until everything is in place.
Looking through the wing cutout area, you will most likely see the cable hanging down. This will interfere with the wing during installation so I simply pressed the cable into the hole that was drilled and held it in place with white packing tape. I also taped the top and bottom of the receiver to make sure it would stay secure.
|